Leather Holster for a Flip 2 Phone - Part 1
It's back to the leather this time, and a project I actually completed last year. After I posted about the Leatherman Squirt Pouches, a friend on Facebook got in touch and asked if I could make a custom leather pouch for a phone, as he couldn't find a suitable one available.
I was reticent at first, partly nervous about working with the pressure of a commission rather than my usual open ended hobbyist approach, but mostly because without the phone to work from I couldn't see how I would be able to get a good shape and fit. But I devised a plan for that which I thought had a reasonable chance of working, we agreed a price and I set to work.
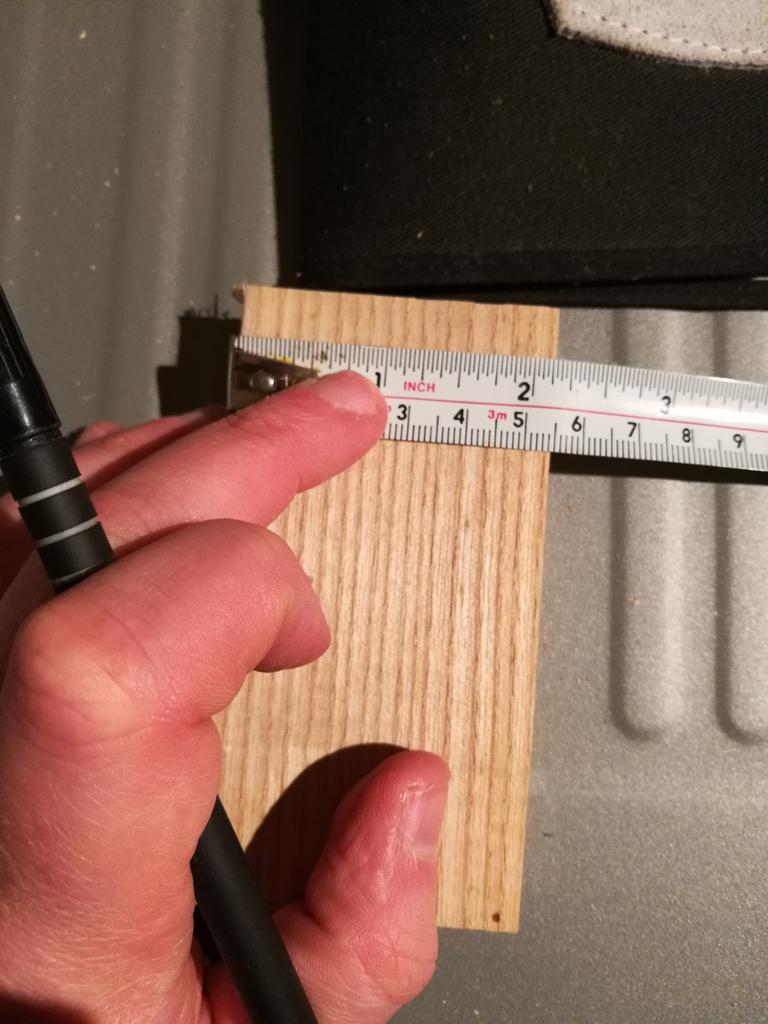
Having established the design and features he wanted (black dyed leather and a form similar to the Leatherman Squirt pouch but with a snap-down cover), I also needed to capture the dimensions. They were listed online but to be 100% sure (as it wasn't necessarily clear which point they were measuring) I had him measure the phone himself at points I specified, and send the figures to me.

Thick hide like the leather I work with at the moment is stiff, and has to be shaped around a form. For the Squirt pouches I use the tool itself wrapped in plastic, but in this case I would have to make a form out of wood.
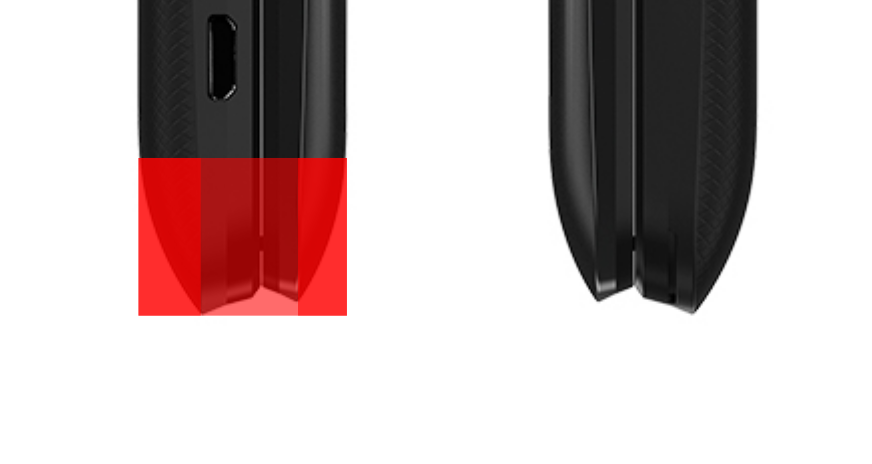
This was made more problematic by the fact that the phone had a complicated profile, tapering in three dimensions with slightly different tapers at the front and back.
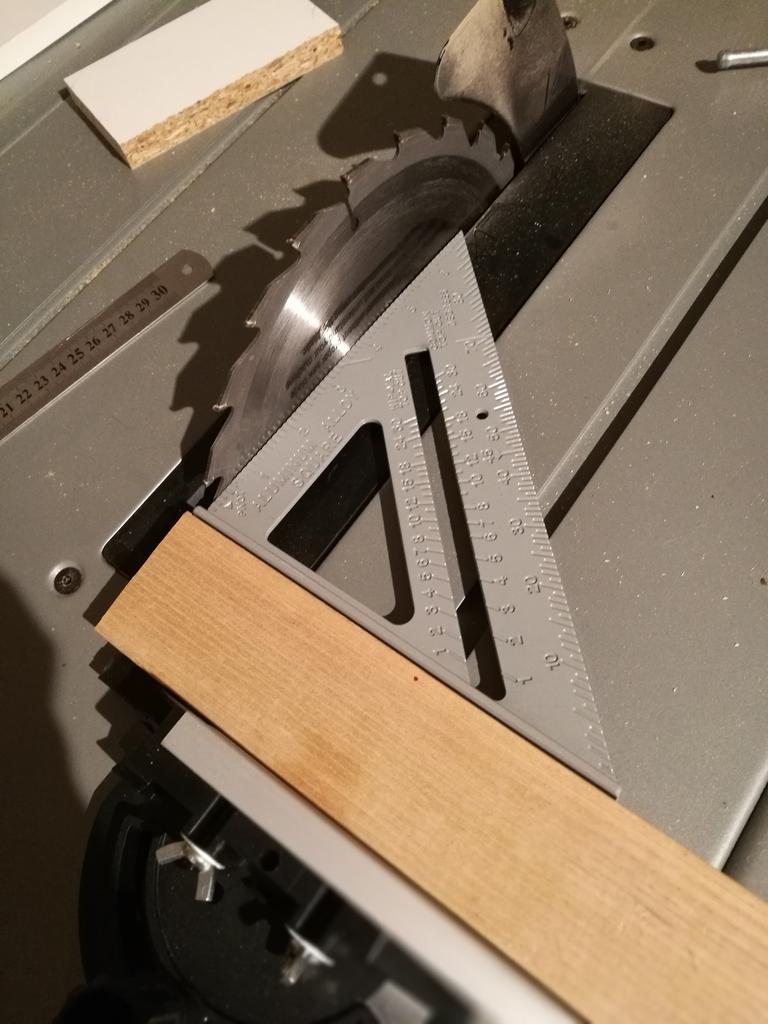
I cut a piece of wood to size on the table saw, using the miter jig to slide it into the blade and having carefully squared it with a speed square. I wanted to get this as precise as I could.
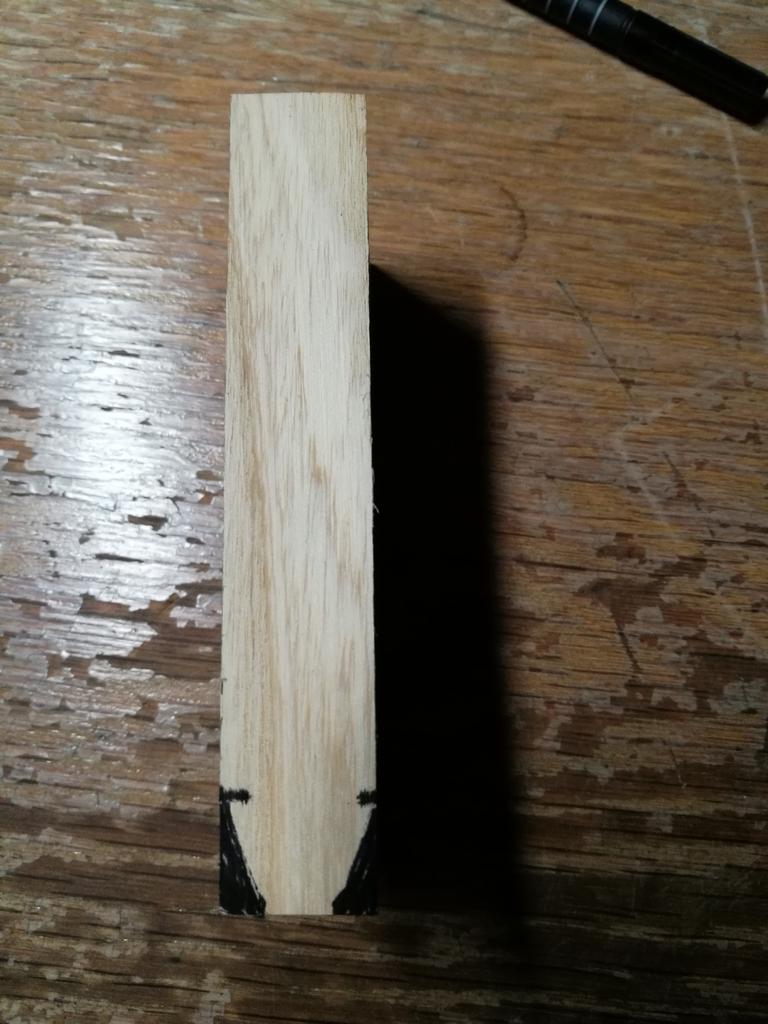
I then worked from the profile images online to figure out the shape. By placing shaded blocks of a known scale over the image in Inkscape I was able to estimate where on the shape the curves began and ended, and mark them out on the wooden block in Sharpie.


I've talked before about getting ideas from unexpected sources and the value of learning from people in different disciplines - I got the idea for this approach from watching milling videos :)
Then it was a matter of carefully removing the shaded areas on the belt sander - and yes, one of the things that convinced me to take this job was that it allowed me to justify buying a belt sander, which I'd wanted for a while. It's a pretty cheap one from Machine Mart - I got it on sale for just over £100 - but I'm actually quite impressed with the build quality, with a cast iron body and surprisingly little rattle and shake, and it's definitely adequate for my needs for now (ie mostly wood and leather).

The trickiest part was keeping the cuts square along the profile, but I kept checking it from different angles and it came out pretty neatly to my lines.
By the way, just to reiterate that I'm figuring all this out as I go: this is the first time I had ever used a belt sander for anything (apart from five minutes playing around when I got it out of the box). You pretty much turn it on and hold the thing against the belt until bits of it go away, then repeat until all that's left is the bits you want to keep - and ideally your fingers :)


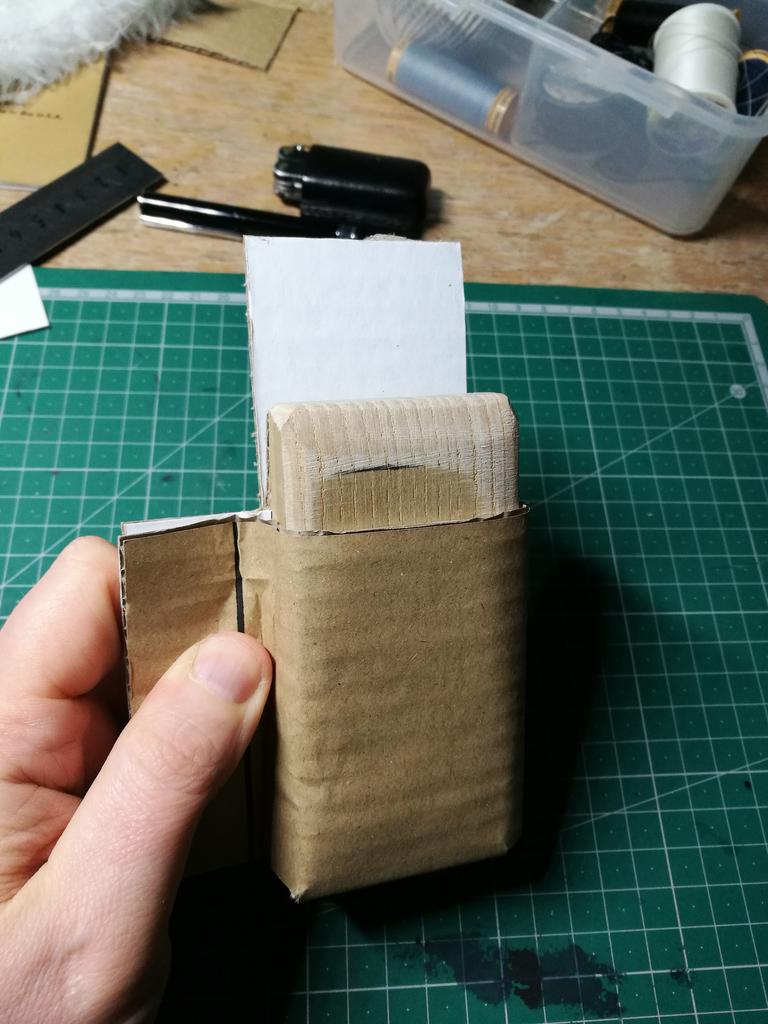
Once I had the form, it was time to prototype the template for the leather. As I had with the early stages of the Squirt pouches I tested it out on cardboard, which had a similar thickness and bendability to the leather and allowed me to try out wrapping the form to see where dimensions needed to be adjusted...


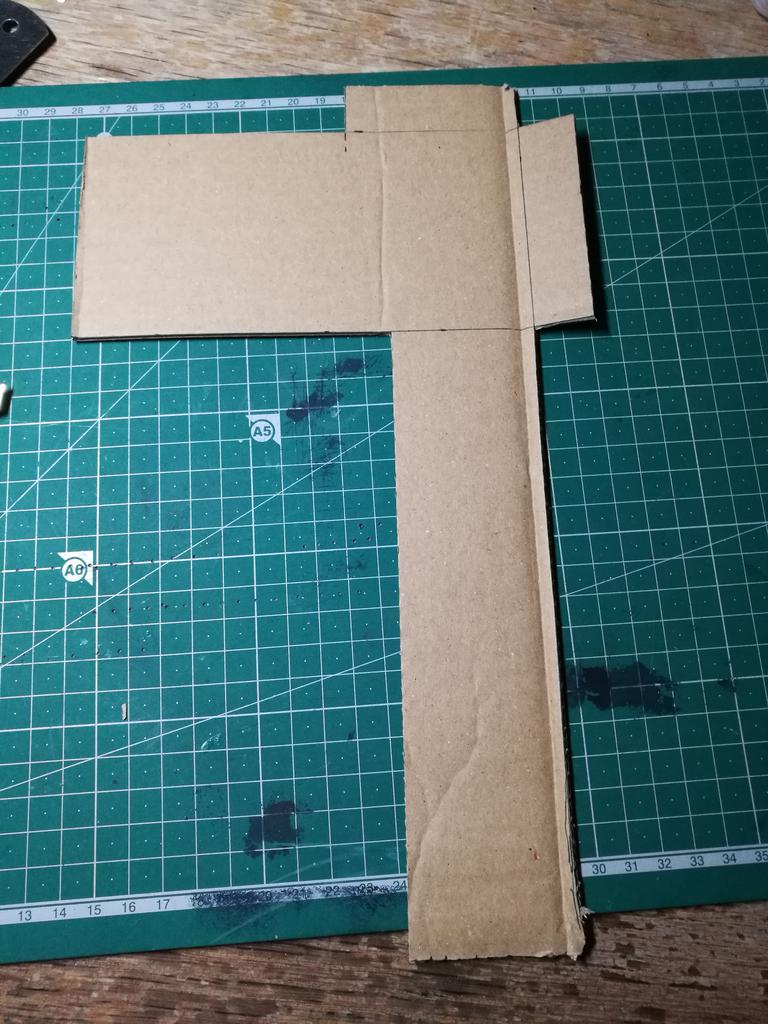

...and with what I'd learned from the earlier project, it only took four go-rounds to establish a good working design.

In part 2 I'll show the cutting, sewing, dying and adding the magnetic fastener.
See you soon!